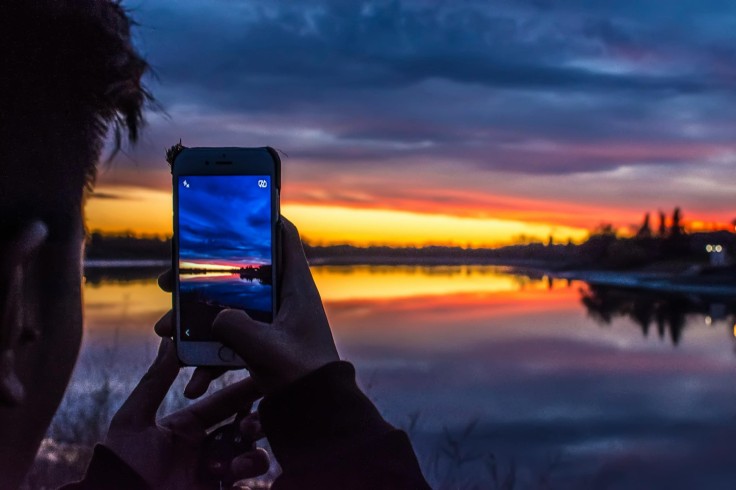
Even as new markets emerge and smartphone technology continues to advance, flagship phones of today's Android market are achieving unprecedented camera specs that have actually put them on par with even the most powerful and complex DSLR cameras. These are just some of the most effective tools that one can use when taking photographs, which is precisely why it is important to learn how to master the most essential camera settings.
This article will discuss 5 camera settings which can improve the quality and style of shots tremendously.
1. Golden Ratio for Perfect Framing
Framing is one of the very basic components of photography which has the greatest effect on the appearance of the photos or image. Most photographers will tend to shoot subjects in the center and this is where compositions will be rather boring.
A better strategy is to apply the 'rule of thirds' rule and place the image on the third left or right of the image. It should be mentioned that the use of the Golden Ratio grid may boost the application of the given technique.
To turn on this Golden Ratio on your Android phone camera, use the camera application and then find the icon in the lower-left portion of the screen that looks like a gear and click on that. Click on 'More Settings' and in the drop-down menu; select the grid type and choose Golden Ratio.
This grid shifts the traditional rule of thirds slightly, helping you place your subject at the intersection of the lines for a more aesthetically pleasing composition. This way, you will be able to ensure that your subjects are well in line with these natural points of interest to create better and balanced photography as well.
2. Manual Focus For Artistic Control
Some of the modern cameras have the artificial intelligence needed for manual focus as it provides a high level of precision in capturing of pictures thus giving room for creativity in photography. This will enable you to emphasize on particular aspects of the scene you are interested in and focus on them as far as your photo or video is concerned.
To enable manual mode on your android device click the icon in the bottom right corner (top right if in landscape mode or using tablet). Select 'Focus' and use the symbol on the side to adjust the focus. Another assist in the form of an orange line denoted as 'Peaking Active' detects the areas of focus and displays them with a fuchsia box.
3. Use the Right ISO
ISO settings control your camera's sensitivity to light. Higher ISO values increase light sensitivity, useful for low-light conditions, while lower ISO values are ideal for bright environments to prevent overexposure. Although modern cameras are adept at auto-detecting ISO, manual adjustment can add artistic flair to your photos. For instance, reducing ISO on a sunny day can create a dimmer, moodier effect.
To manually adjust ISO, access the settings icon, select "ISO," and modify the value to suit your lighting conditions. Understanding and manipulating ISO can help you achieve the desired exposure and mood in various lighting scenarios.
4. Change Your Shutter Speed
Shutter speed determines how long your camera's sensor is exposed to light. They also have very short shutter speeds which are useful in keeping motion blur in action scenes under bright light. More time exposure offers more light and gives the motion blur effect in the photo. That is why this technique is especially effective for minimal light settings or when you want to freeze the motion of a light source like millions of car lights on a highway at night.
To change the shutter speed, just open camera settings and option Shutter Speed and then set the speed. For example, if a shutter speed is set at 1/150th of a second, a moving subject will freeze effectively, and when the speed is at 1/24th of a second, it will produce motion blur effects.
5. Pay Attention to The White Balance
When colors are exposed to different lighting conditions, the white balance plays an important role in making sure that colors are as accurate as possible. This will alter the output brightness as well as the color of light so that any white on screen would look white regardless of its origin. Auto white balance works well in most cases, but manual adjustment of the white balancing has the advantage that the photographer can affect the color temperature of a picture taken during the day to achieve a mood that differs from the real one.
If you want to change the white balance of the photo to be warmer or cooler, you need to go to the settings menu and select the "White Balance" item and adjust the temperature parameter in the appropriate range. If a picture is taken from a cooler temperature then it adds a blue hue meanwhile if it is taken from a warmer temperature it adds an amber hue to the image so it can help in setting the balance of the color.
All five - the Golden Ratio for framing, manual focus, adjusting ISO, changing the shutter speed, and white balance - can have a large impact on the quality and aesthetic value of a photograph. It is hoped that readers not only appreciate the groundbreaking and powerful imaging capabilities now present in the Android world but also how learning to use such features is one of the best ways to create high-quality photos using an Android device.
People working with smartphone cameras also consider this fact and try to use these advanced features in order to deliver a better end - product for both professionals and amateurs.
Related Article : Rumors Hint At IPhone 16'S Vertical Camera Alignment For Spatial Video
© Copyright 2025 Mobile & Apps, All rights reserved. Do not reproduce without permission.


