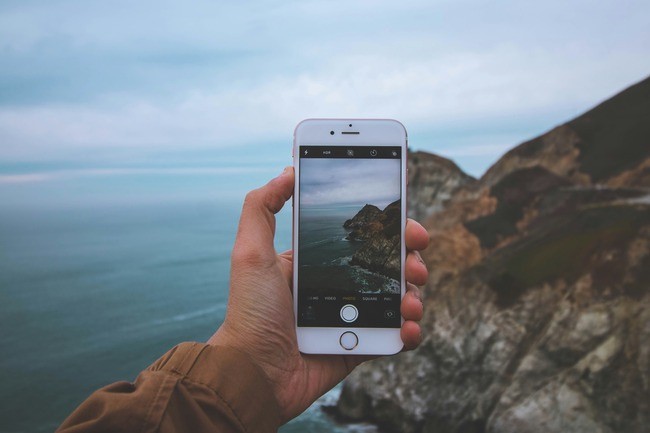
Taking amazing pictures that show wide views isn't always possible, leaving us wanting to save those vast landscapes. Luckily, panorama shots help fix this problem.
Before, making panorama shots meant knowing lots of tech stuff, which was tricky for many people. However, things have changed, making panorama photos a breeze, especially with phones.
Now, making awesome long shots is simple; no more painfully putting pics together on a computer. Your phone can smoothly take panorama pictures, making it easy for everyone.
Panorama Mode on iPhone
A built-in panorama function is accessible for iPhone 4S, 5, and the newest iPhone through the native camera app, starting with iOS 6. It creates panoramic photos by seamlessly stitching images together.
Panoramic mode may be accessed via the Options menu of the Camera app. Although this built-in utility merges photos quite well, it's not unlimited.
In scenes with a solid dynamic range, it has trouble with exposure and ends up overexposing. The iPhone's portrait lens view also limits its vertical height, unlike other panoramic apps that permit larger panoramas. The iPhone's built-in panorama mode is nevertheless a dependable option in the majority of scenarios, despite these shortcomings.
How to Capture Panorama Shots on your iPhone
How to capture stunning panoramic shots with your iPhone camera using the Pano mode in the Camera app.
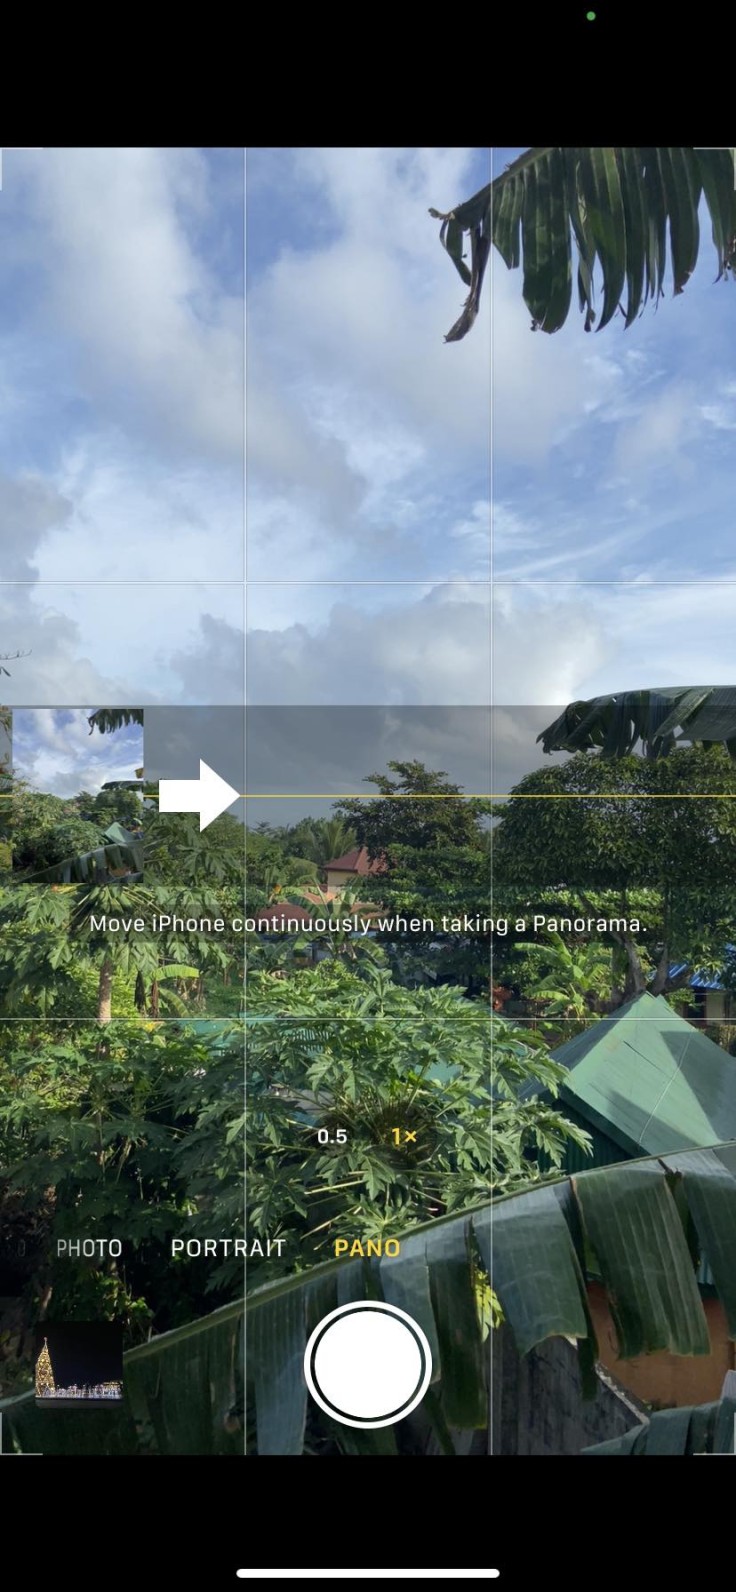
Access Pano mode by opening the Camera and selecting it from the options.

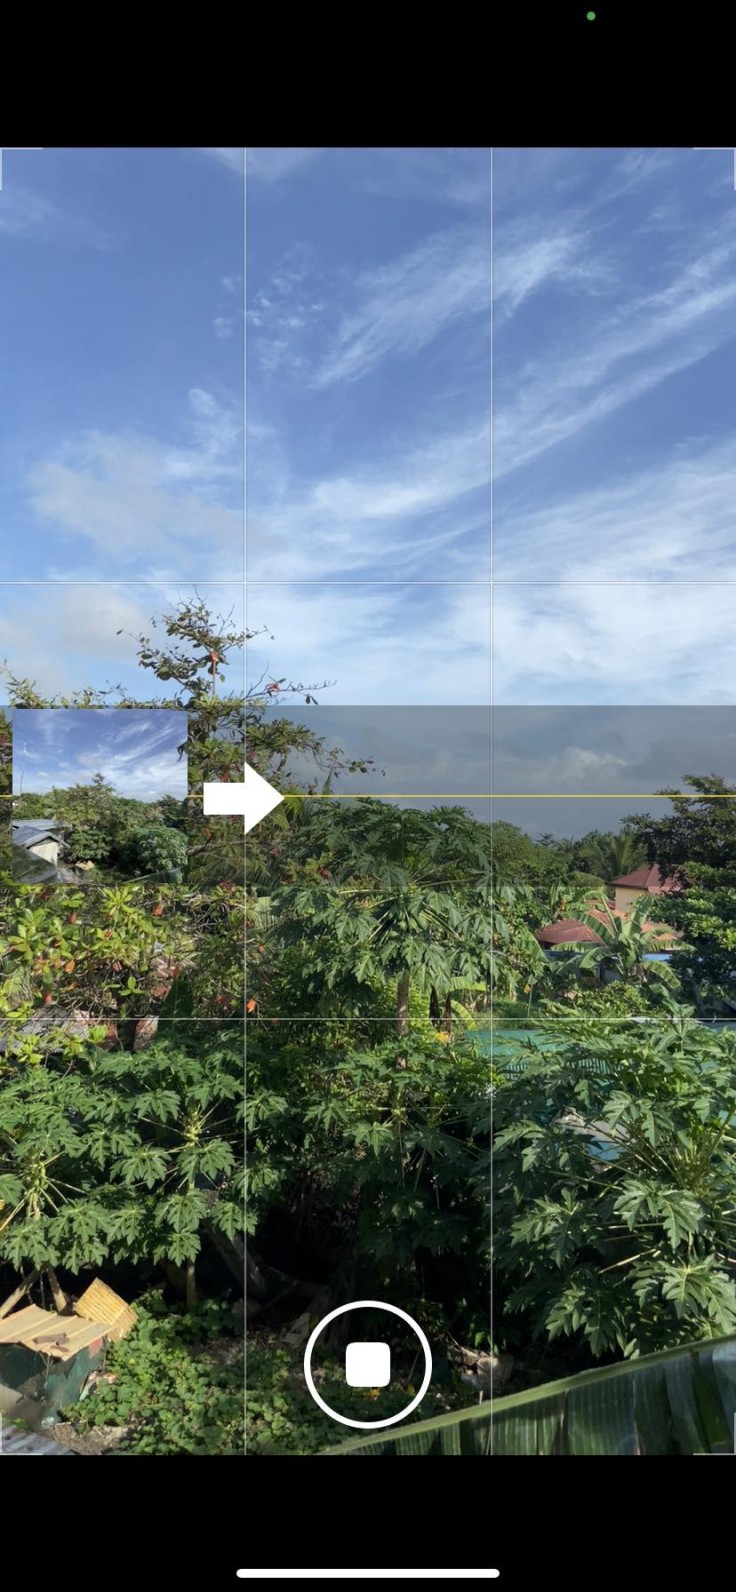
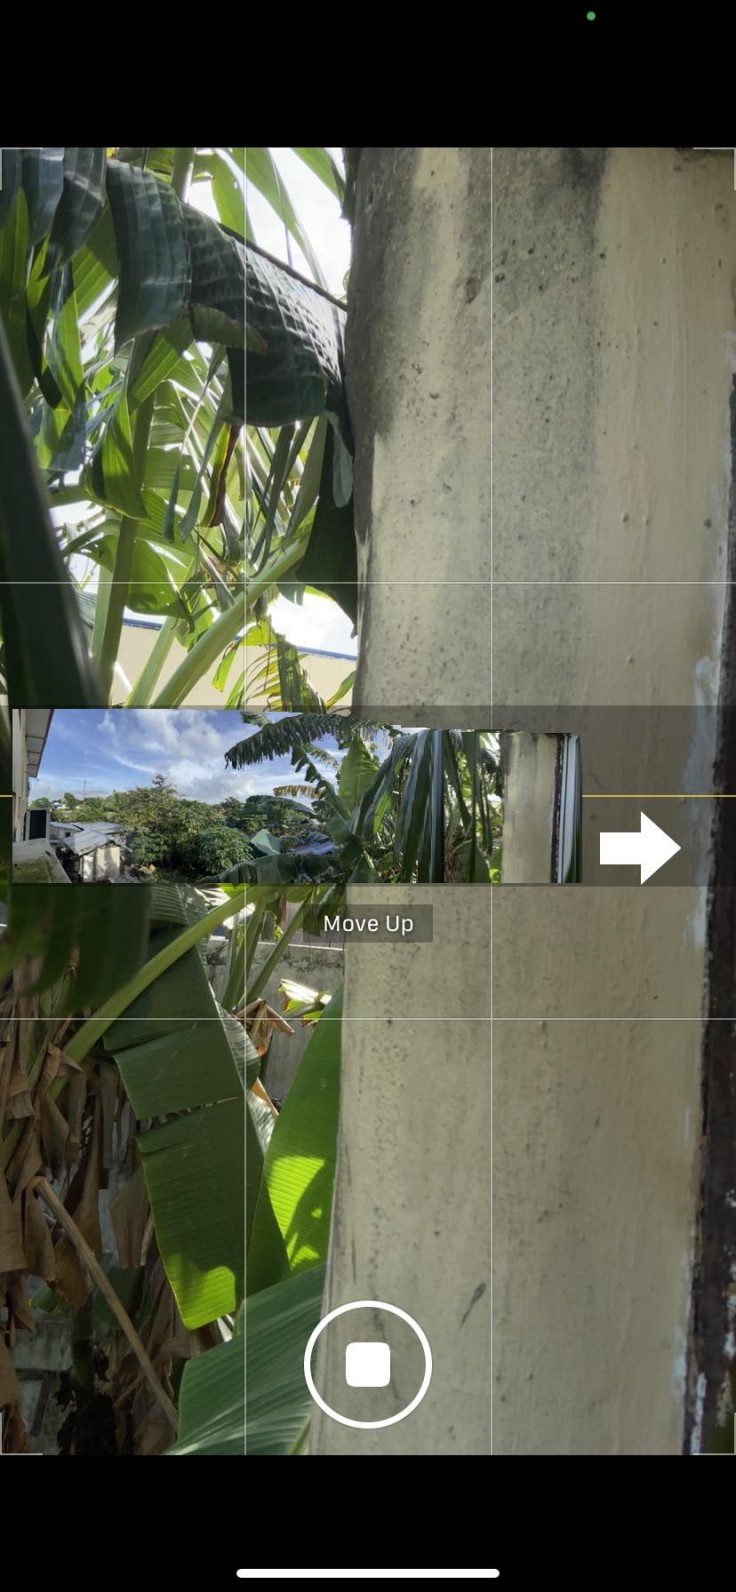
When ready, tap the Shutter button to start capturing. Follow the on-screen arrow, panning slowly while keeping it aligned with the center line.

To complete the panorama, tap the Shutter button again. Adjust the direction by tapping the arrow or rotating your iPhone for vertical panoramas. Reversing the panning direction is also possible for horizontal and vertical shots, granting flexibility in creating diverse panoramic views.


How to Effectively Capture High-Quality Panorama Shots on your iPhone
Mastering stability is critical to capturing stunning iPhone panoramas. Keep your hand close to your chest to minimize movement, and maintain the arrow centered for alignment.
Employing tripods is advisable for steadier shots, ensuring precise control over the panning movement. Home practice sessions offer an ideal setting to refine your panning skills before venturing outdoors, ensuring you're well-prepared and efficient. Focus on landmarks for composing your shots and limit panorama length by tapping the camera button to stop the sequence.
However, experimenting with unconventional techniques can yield creative results. Consider breaking traditional composition rules by incorporating moving objects or tilting your phone for different perspectives. While such approaches might distort images, they can infuse uniqueness into your panoramas.
Steer clear of busy areas since moving subjects could throw off the sequence and produce distorted or stretched images. To avoid interruptions and to enjoy the beautiful lighting, choose more sedate times of day, like sunrise or sunset.
Explore third-party apps like Microsoft Pix and 360 Panorama to broaden your horizons in panoramic photography beyond what the iPhone's built-in app can offer.
By providing more considerable frame recording capabilities, features, and even virtual reality compatibility, these apps let you take your panoramic photography to the next level. Playing with these programs can reveal new avenues for producing engaging and immersive panoramic images.
Related Articles : How To Effectively Use Your IPhone's New Journal App In IOS 17.2
© Copyright 2025 Mobile & Apps, All rights reserved. Do not reproduce without permission.


